• Home
  • Winston & Fidel
  • AREA 51
  • Currently Available
  • Previous Work
  • Contact Us
Cigar Box Guitars by Winston & fidel

And now for something completely different....


Picture
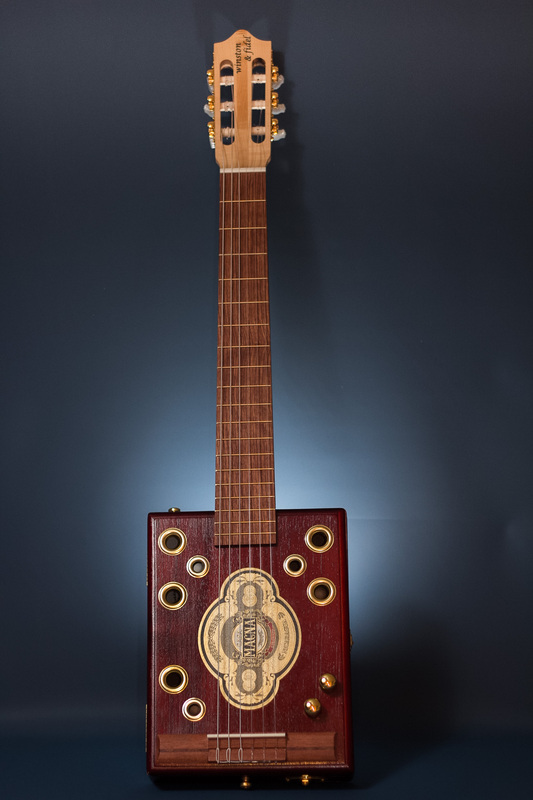
I took a break from the copper resonator to build this one-off 6-string classical cigar box guitar.  I've been a fan of 
"nuevo flamenco" guitarist Jesse Cook for years.  When I heard he was going to perform in nearby Red Deer, I decided to try to build a guitar specifically for him.  I had the pleasure of presenting it to him at his sound check. 


Here are the details of the build: 
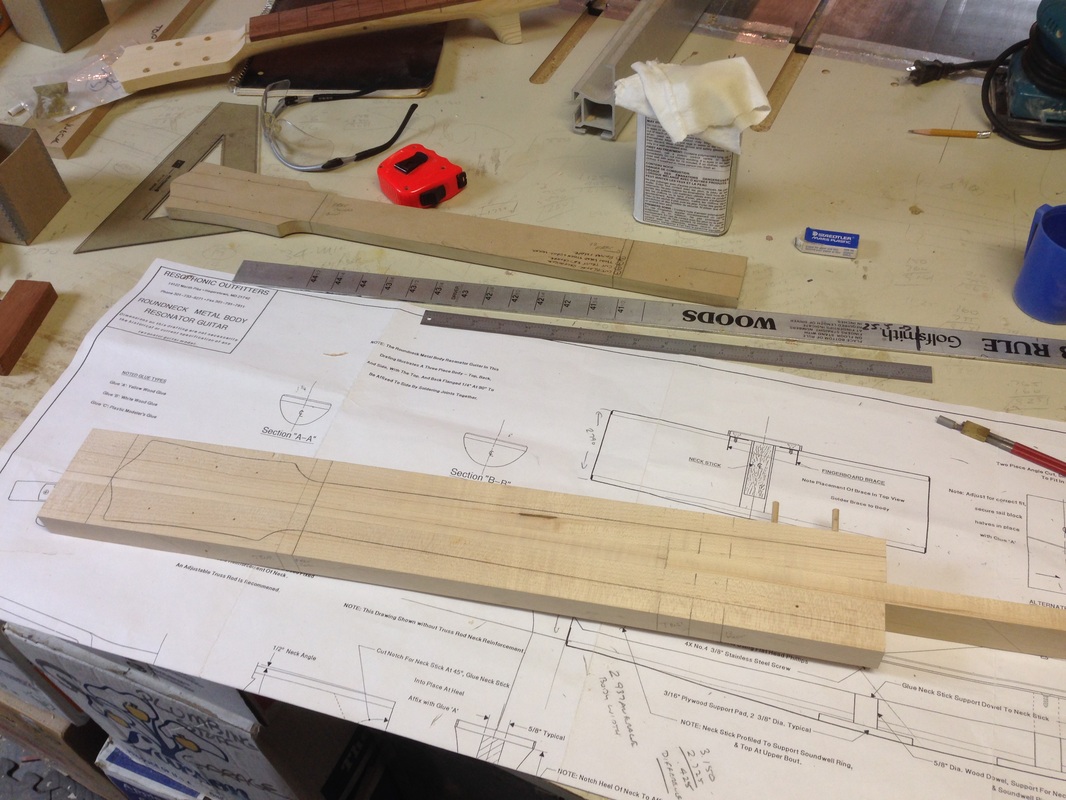
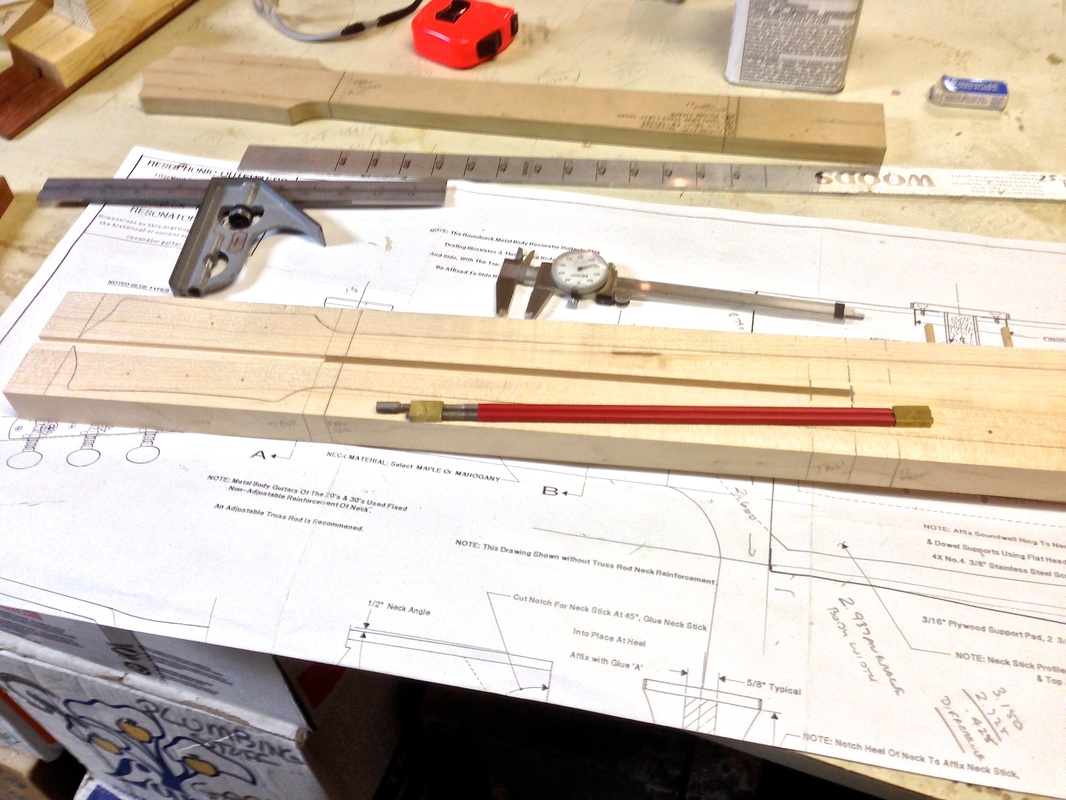
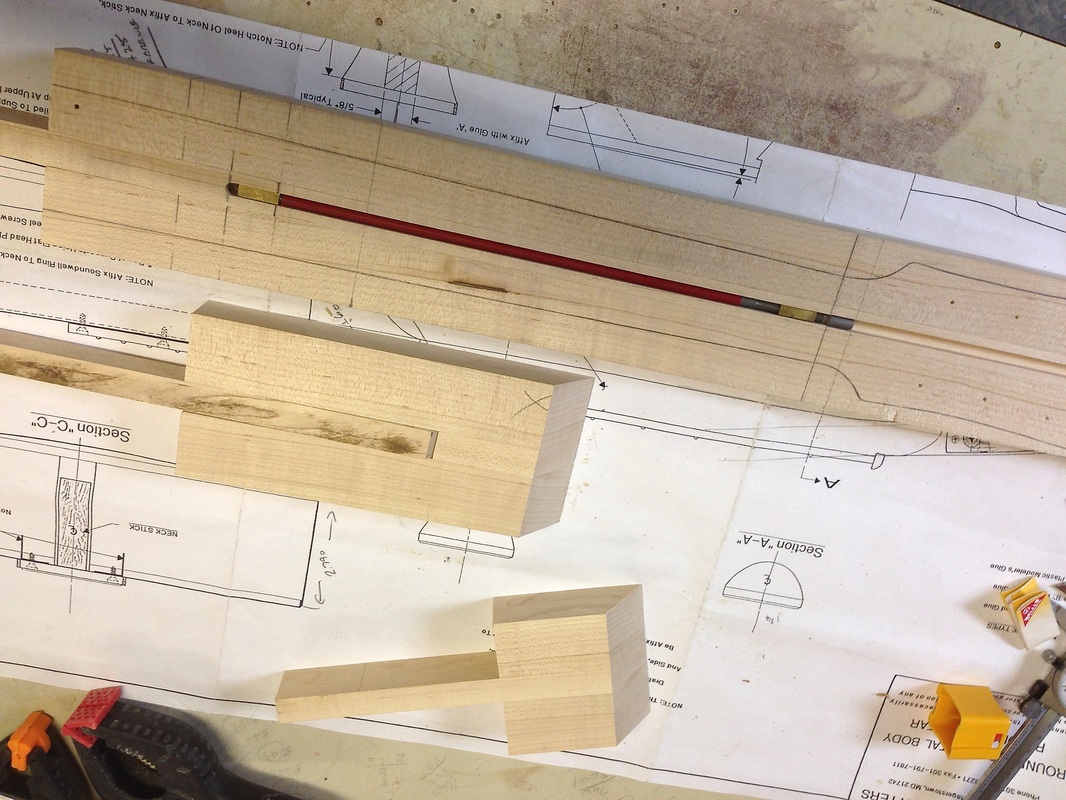
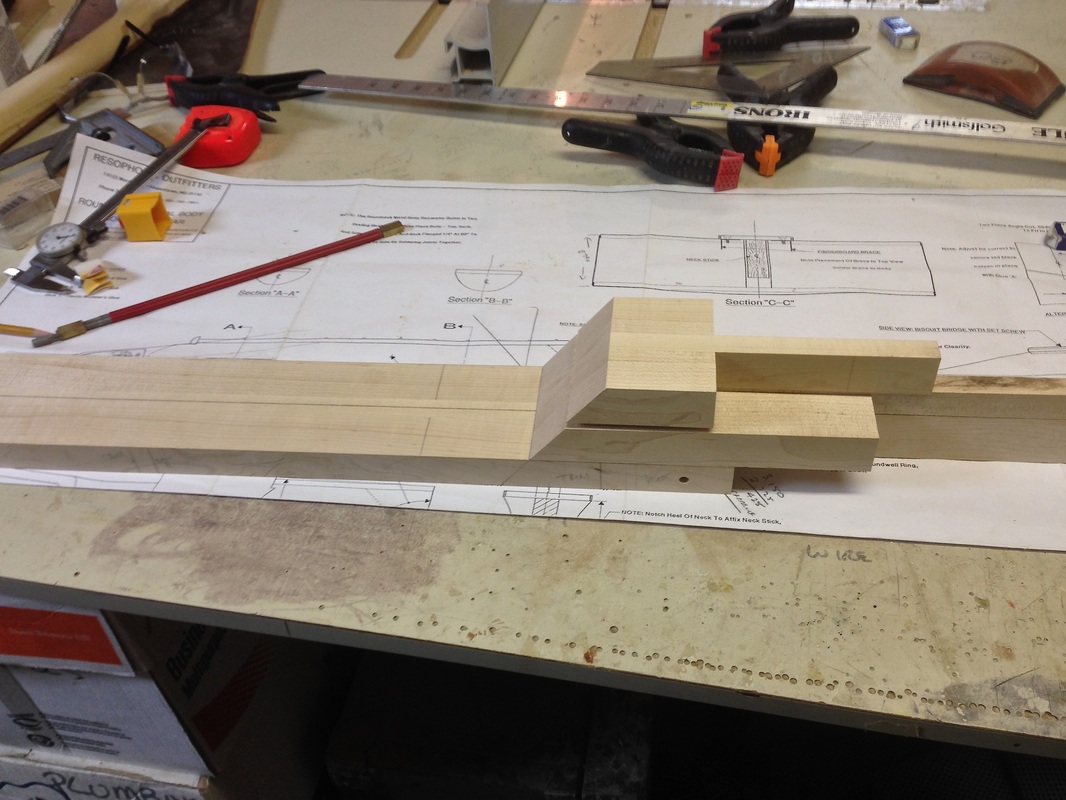
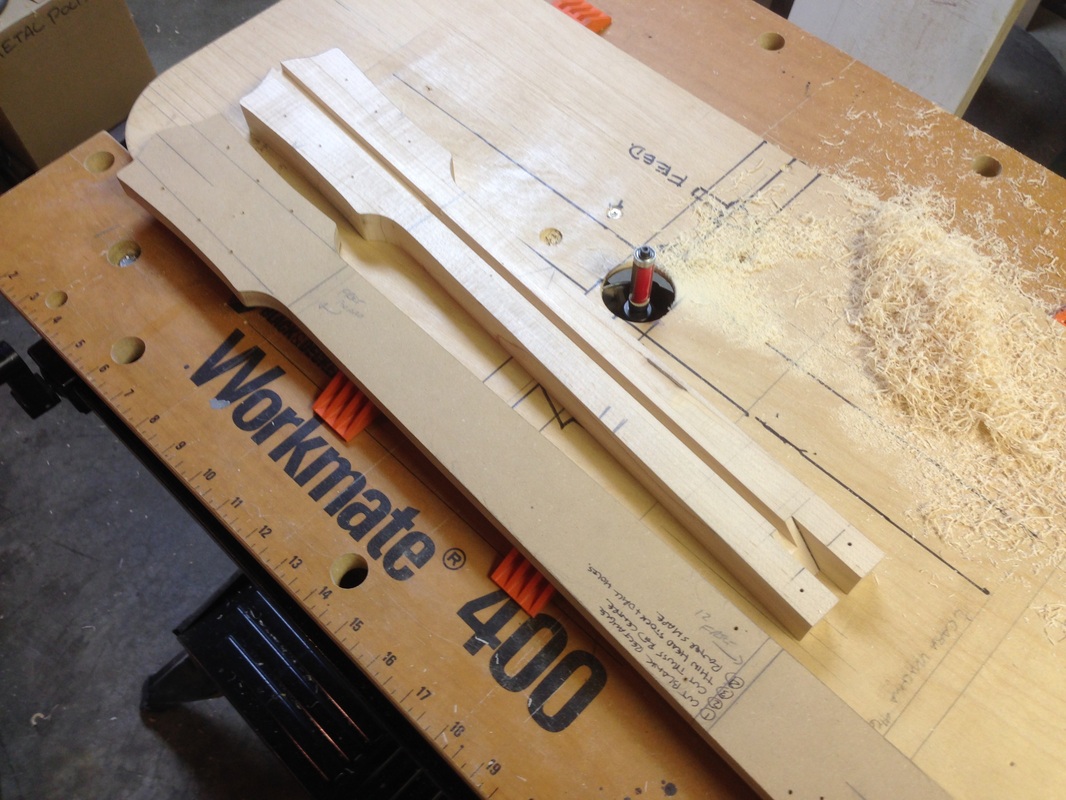
The fretboard and bridge are made from Bubinga wood, which comes from Africa.  The neck is maple.  
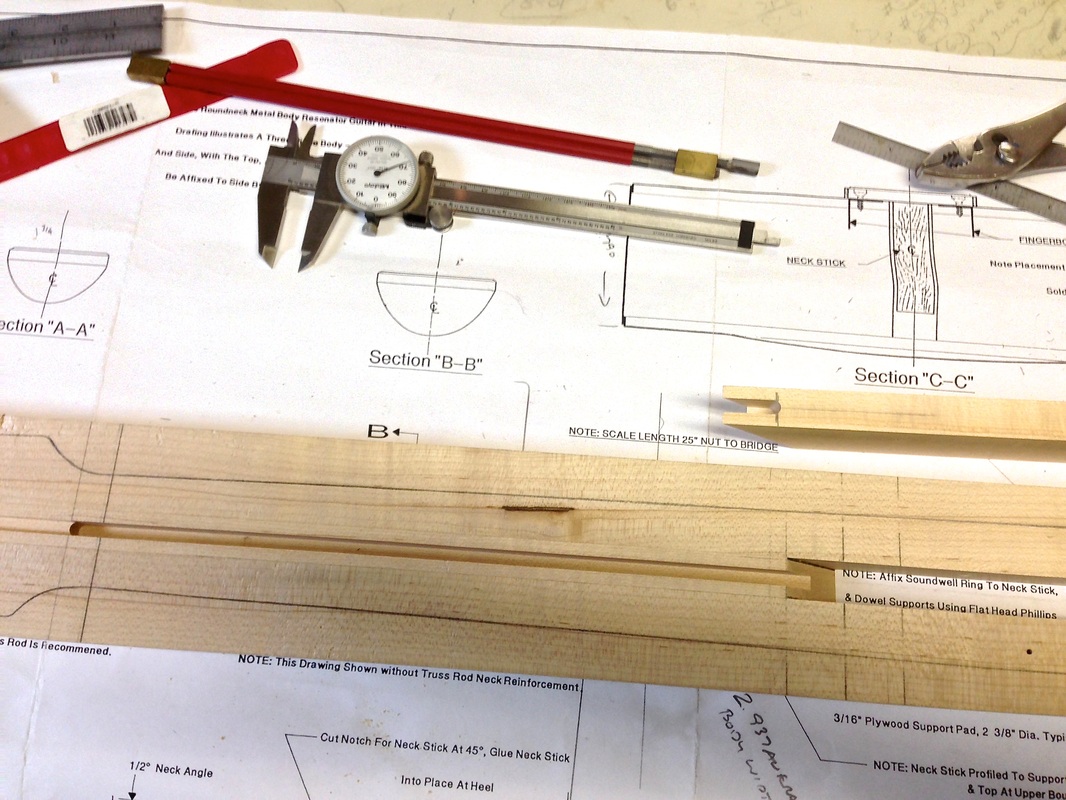
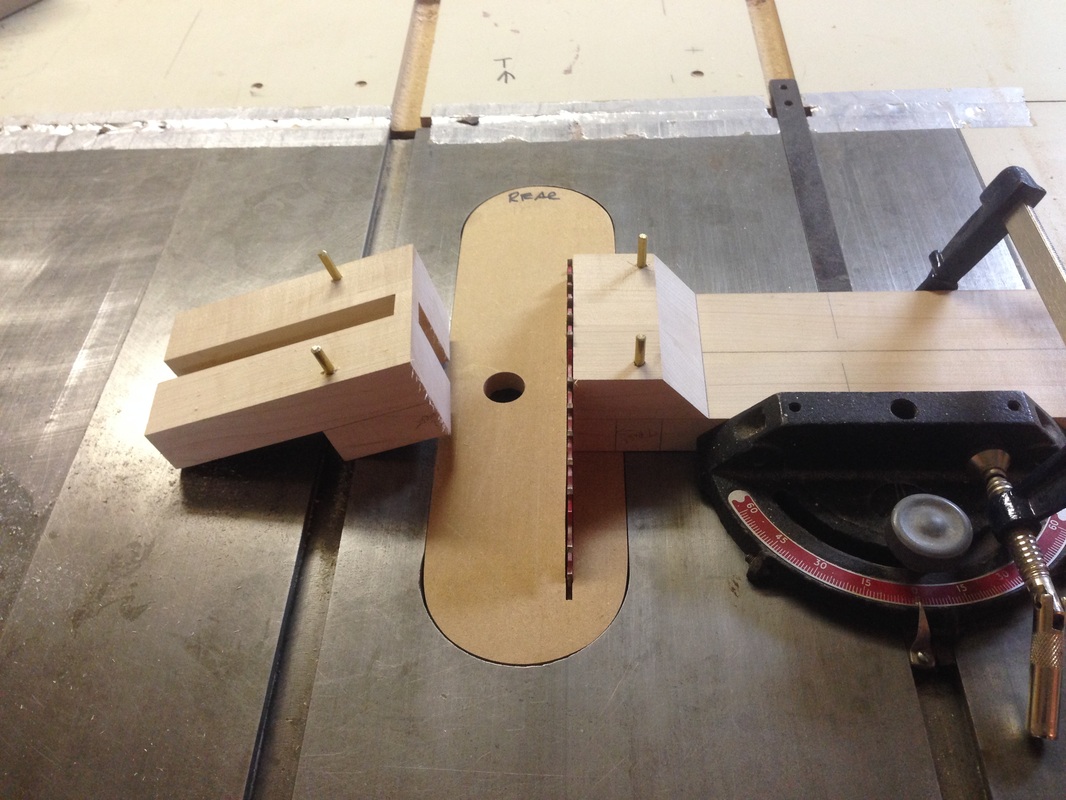
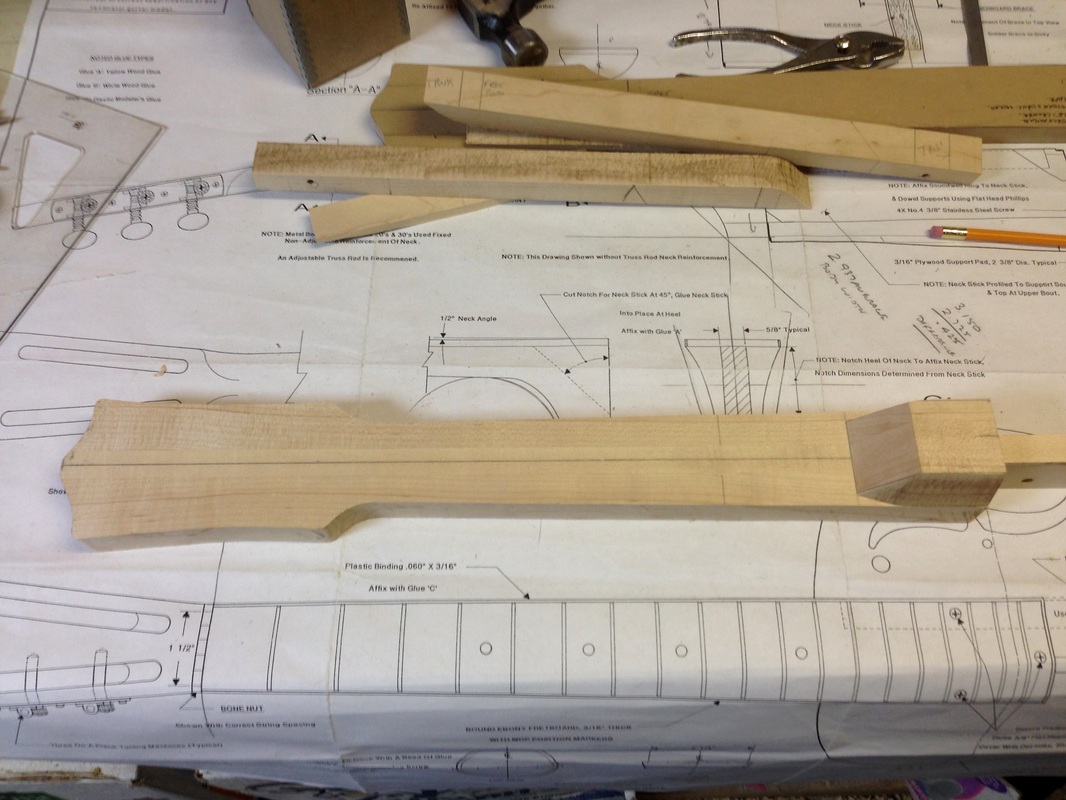
I must have been serious about building this, because I've never drawn plans for a guitar before.  It took all of January to build. 

Picture
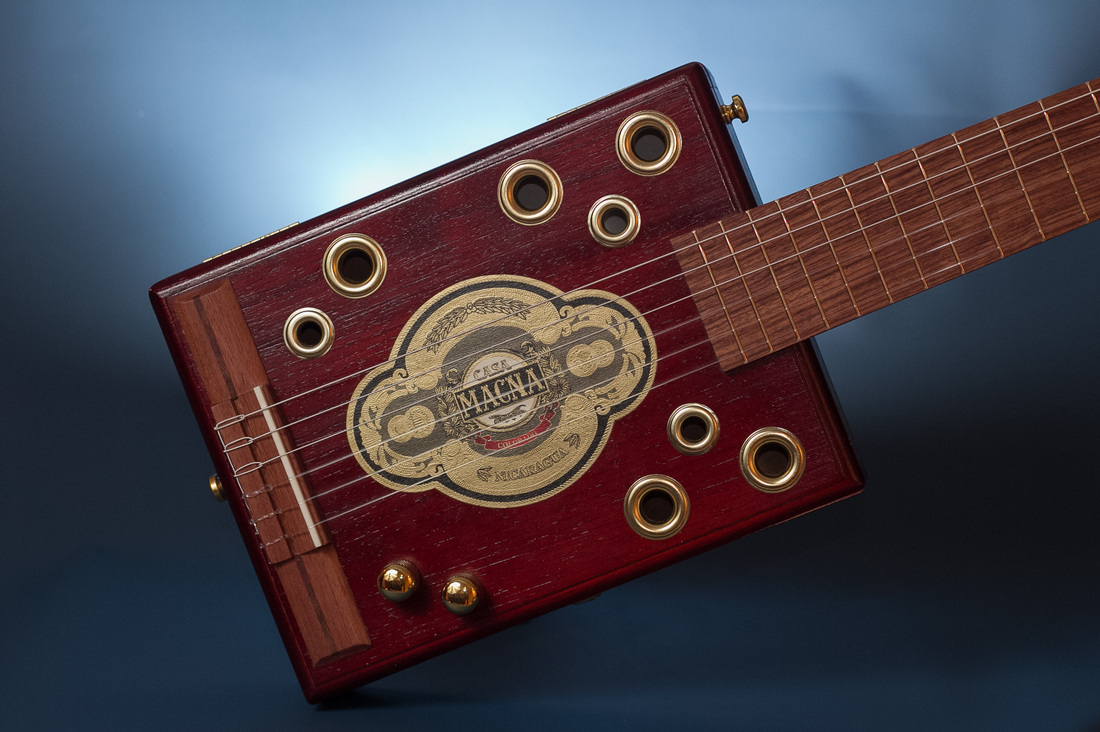
This close-up of the guitar body shows the Bubinga bridge, featuring a bone saddle.   This guitar has a volume control; the second knob is a fader which controls the two Piezo pickups, allowing you to play the bridge or the neck independently, or combine the two to get the sound that you want.

Picture
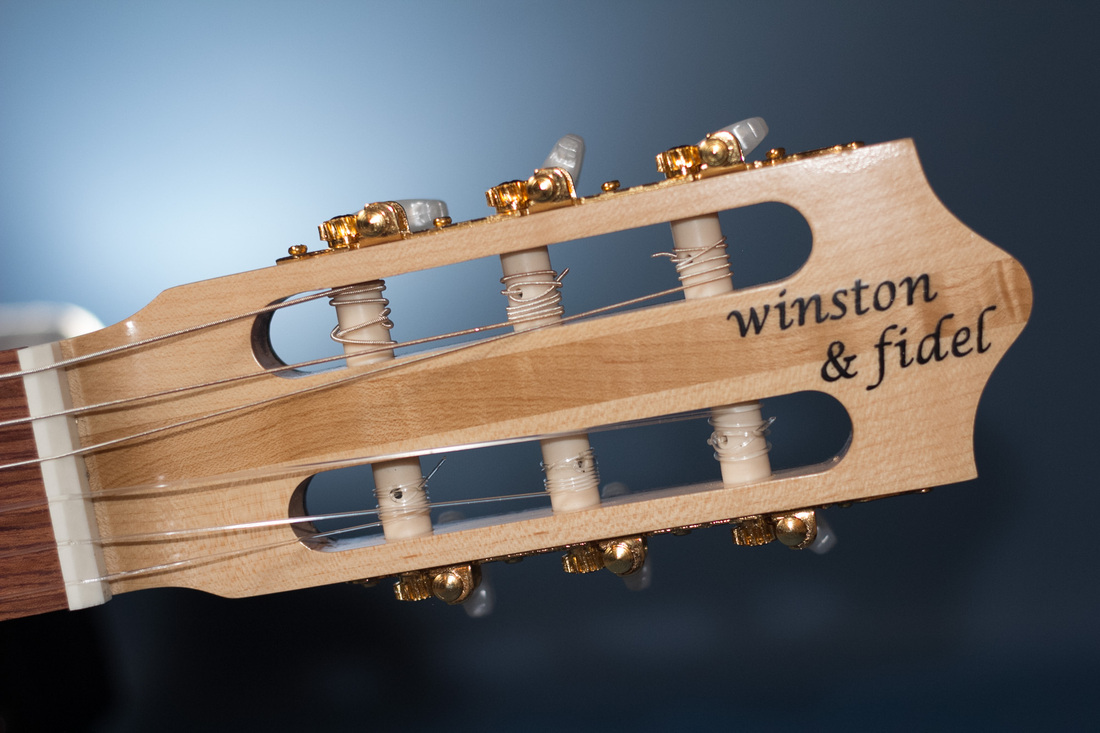
I made the tuner head the way I usually do, not following the traditional classical two-piece neck and tuner head.  I was able to achieve very effective string break over the bone nut.

Picture
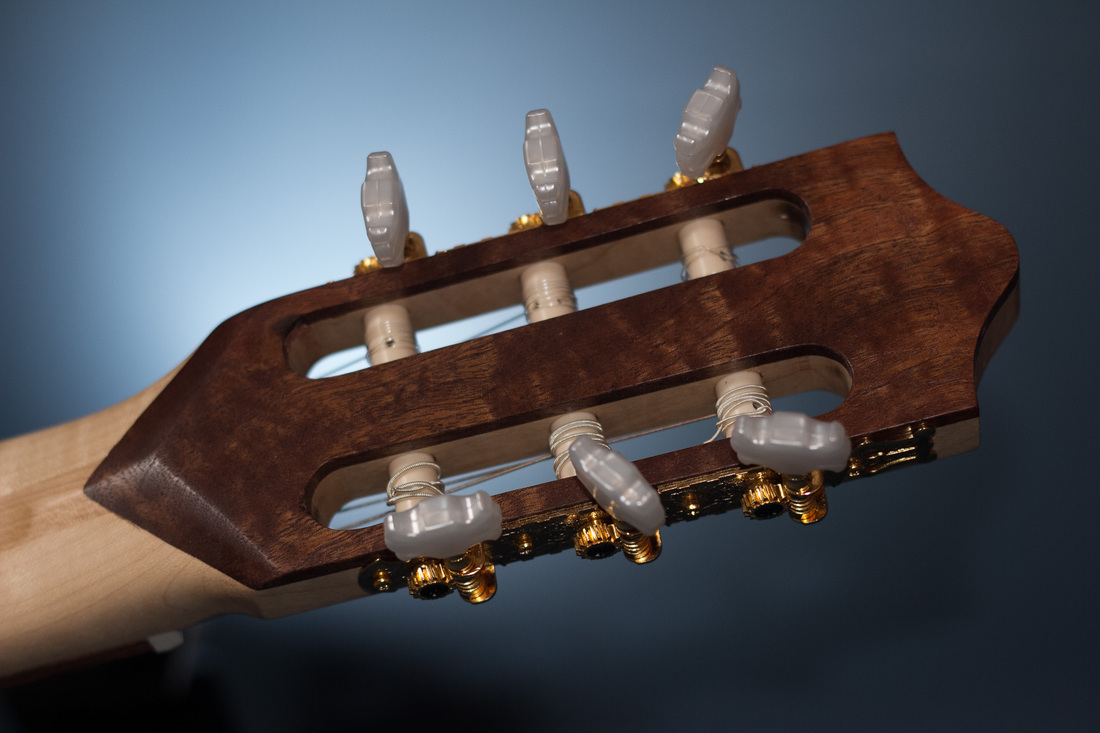
The back of the tuner head.  The dark wood is a mystery wood that I had in my shop; it looked pretty, so I used it.


Jesse Cook: 

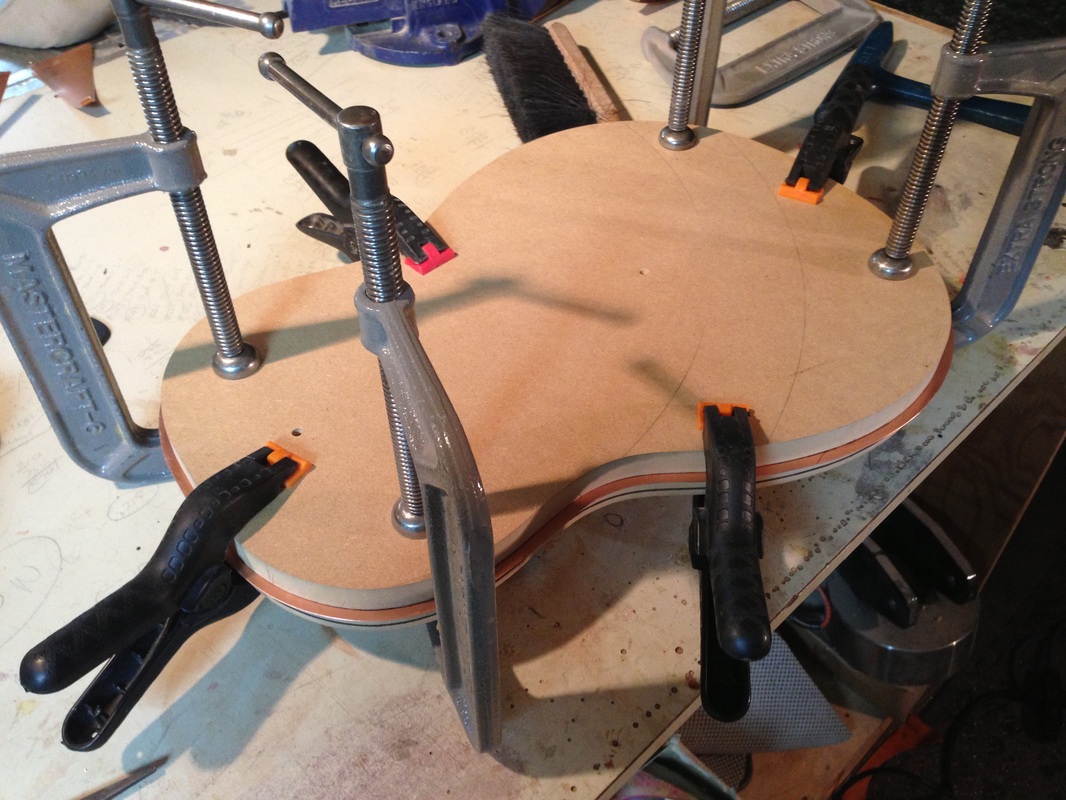
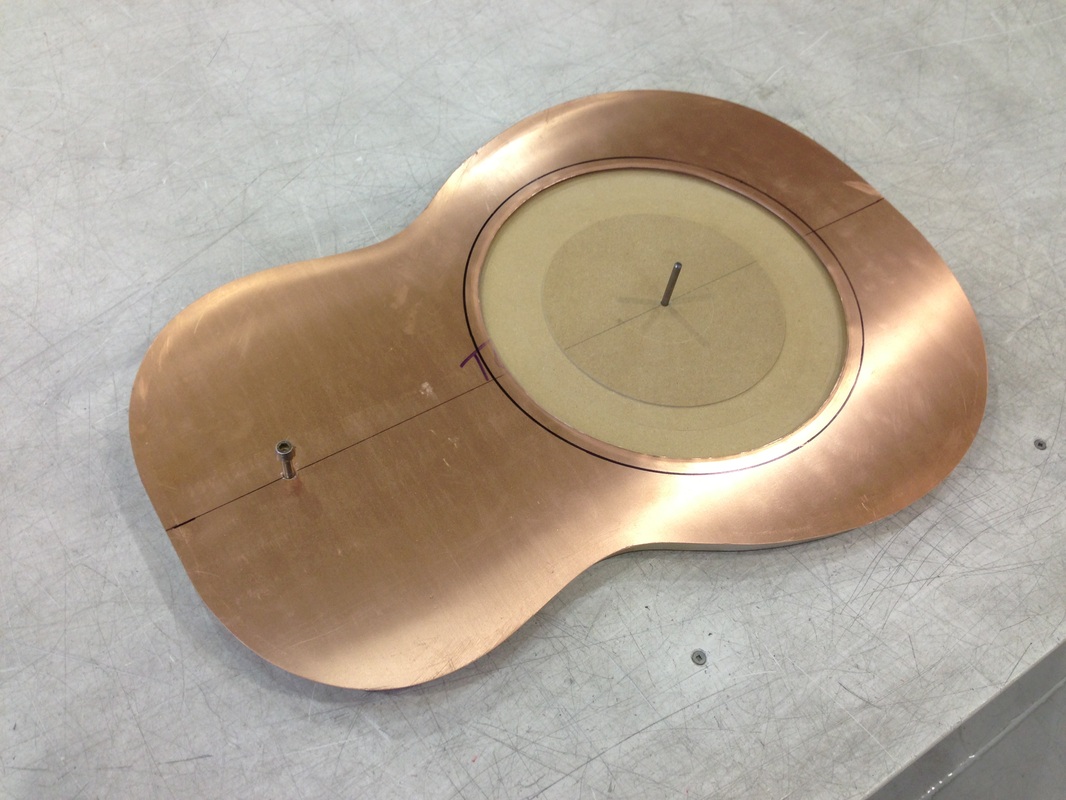
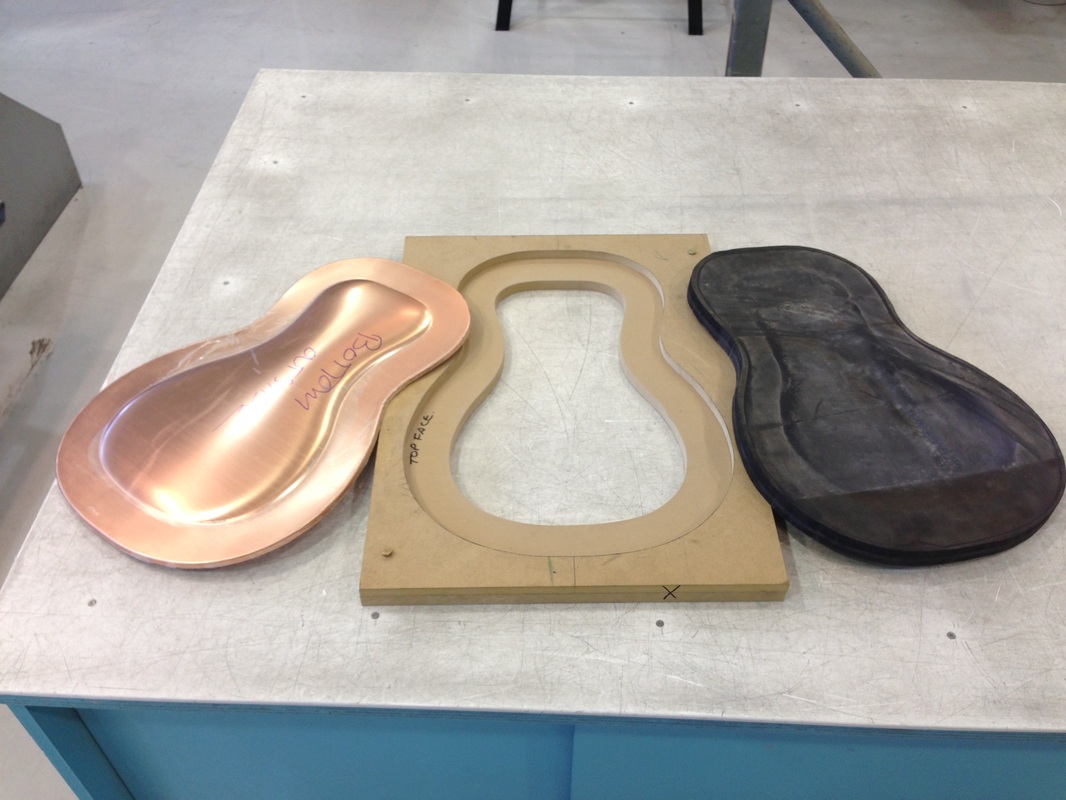
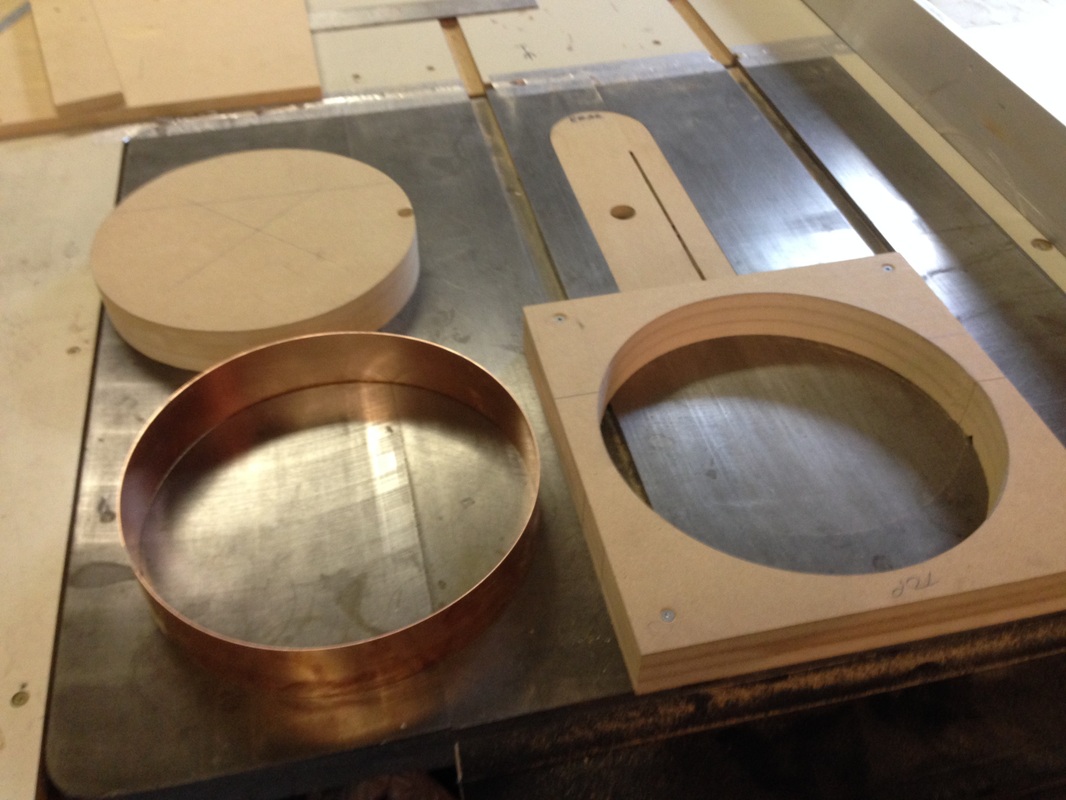
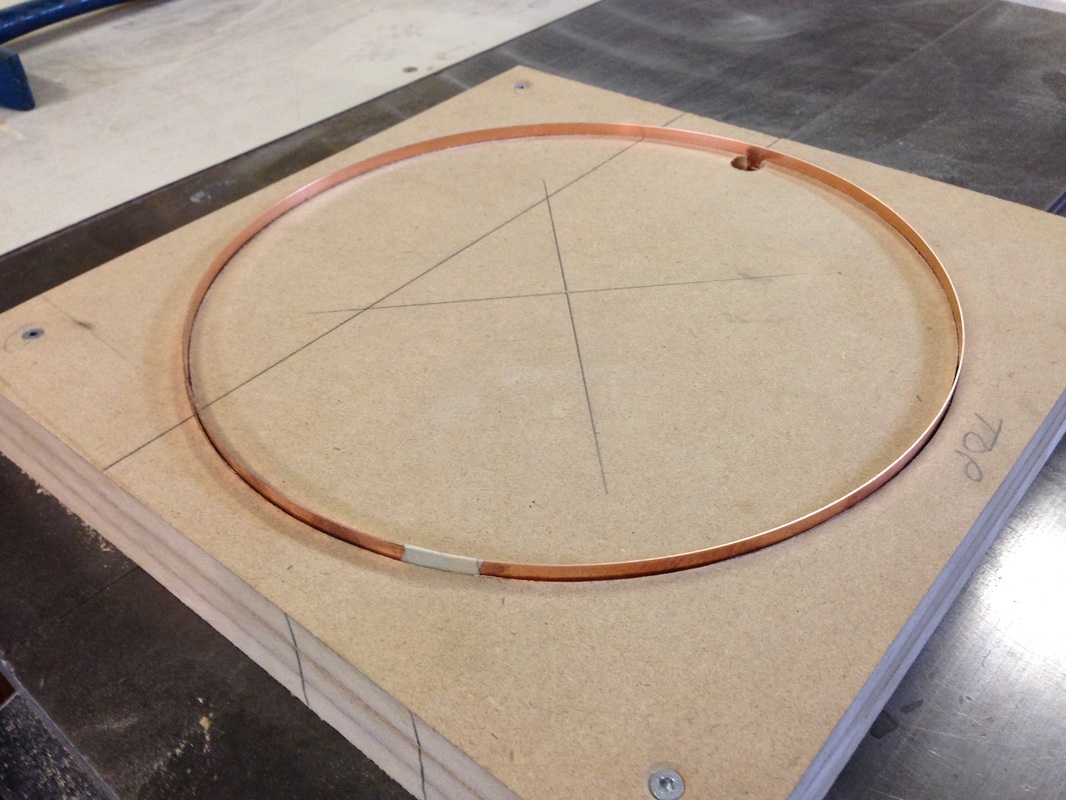
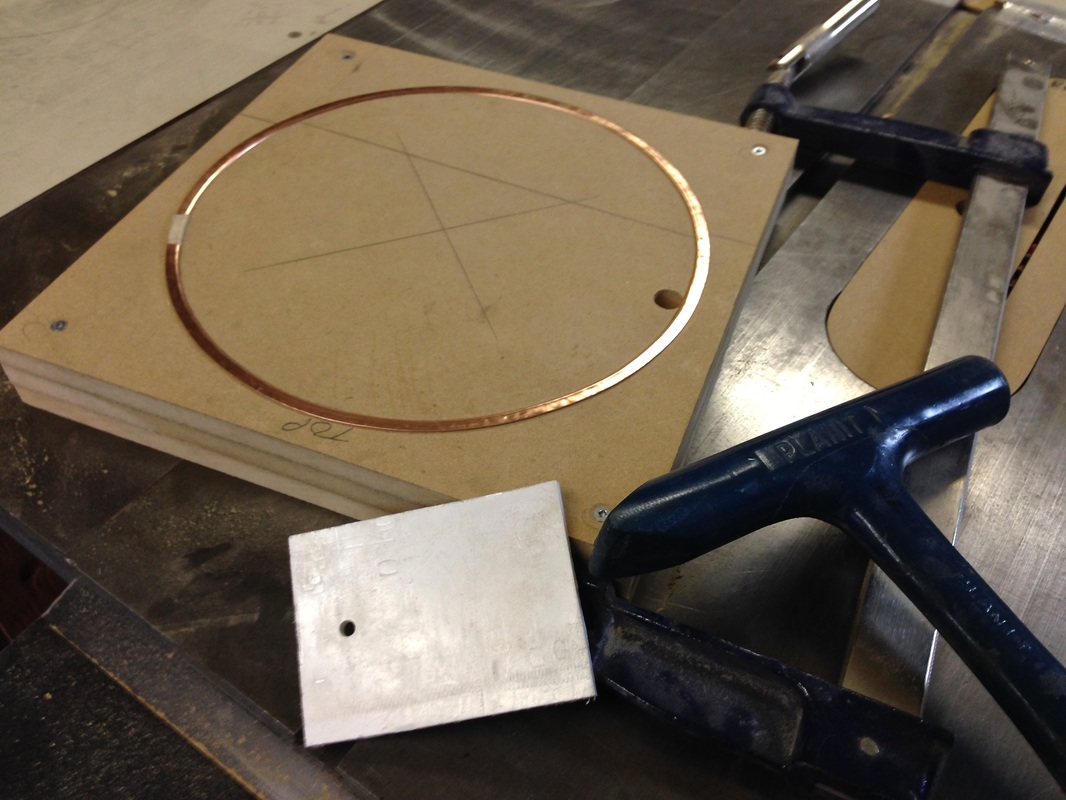
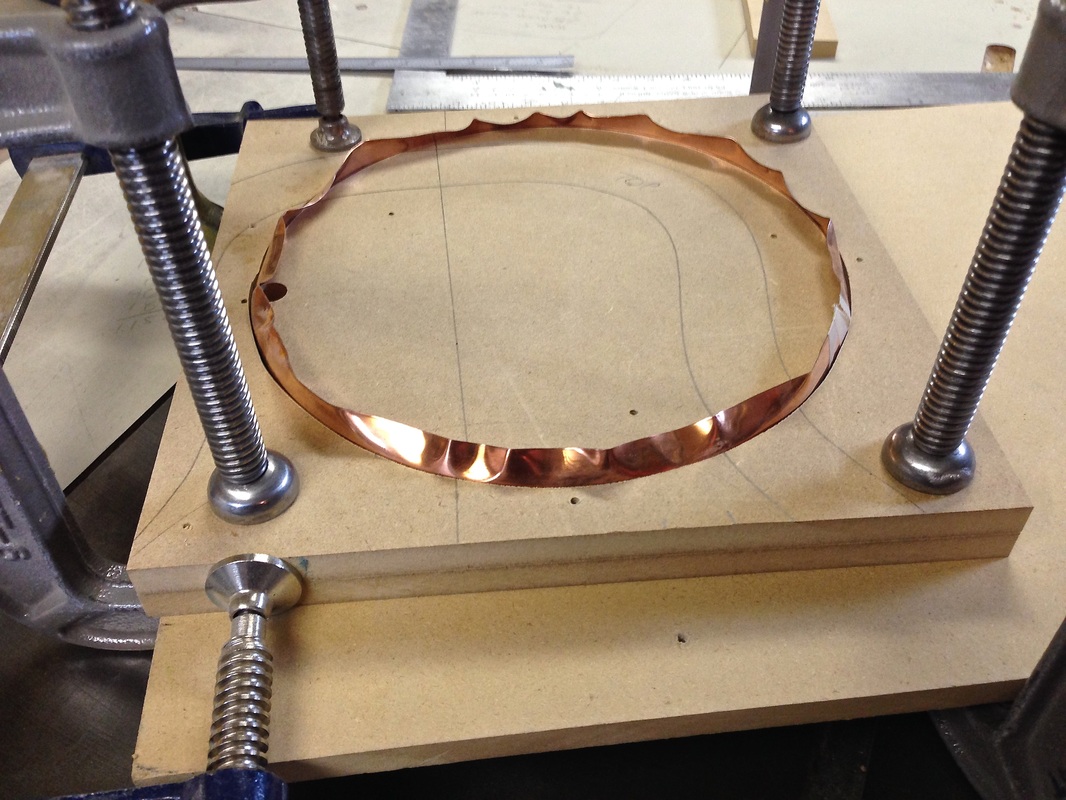
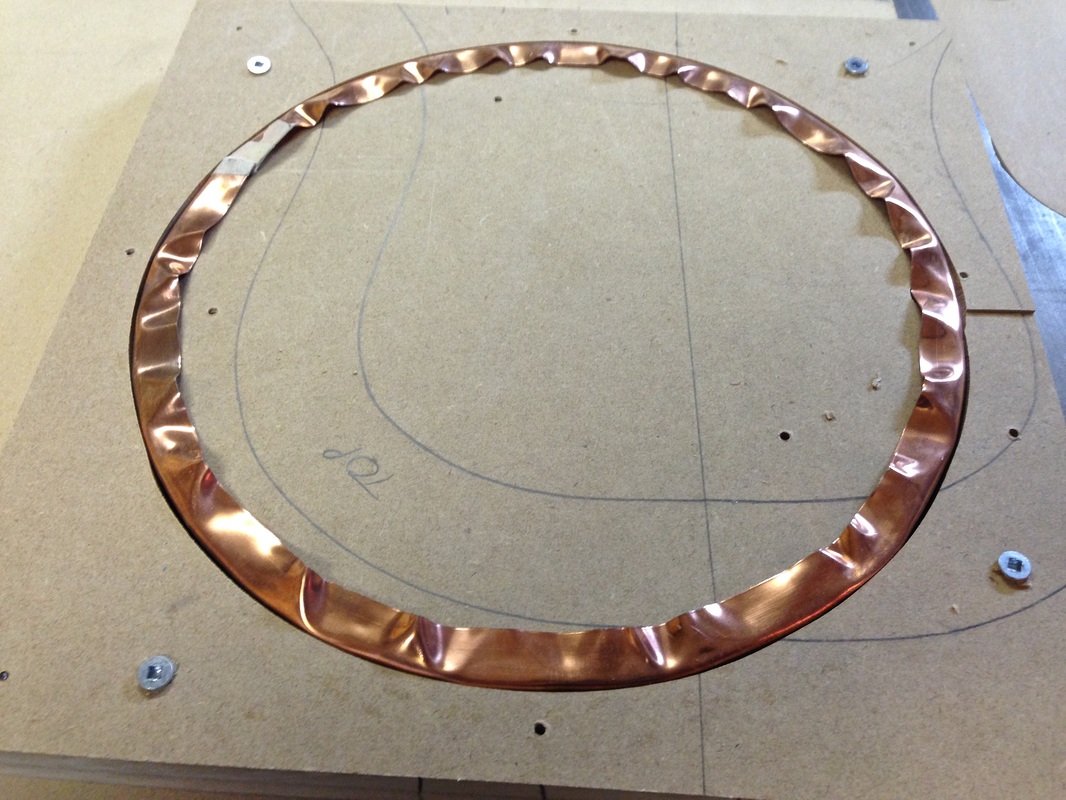
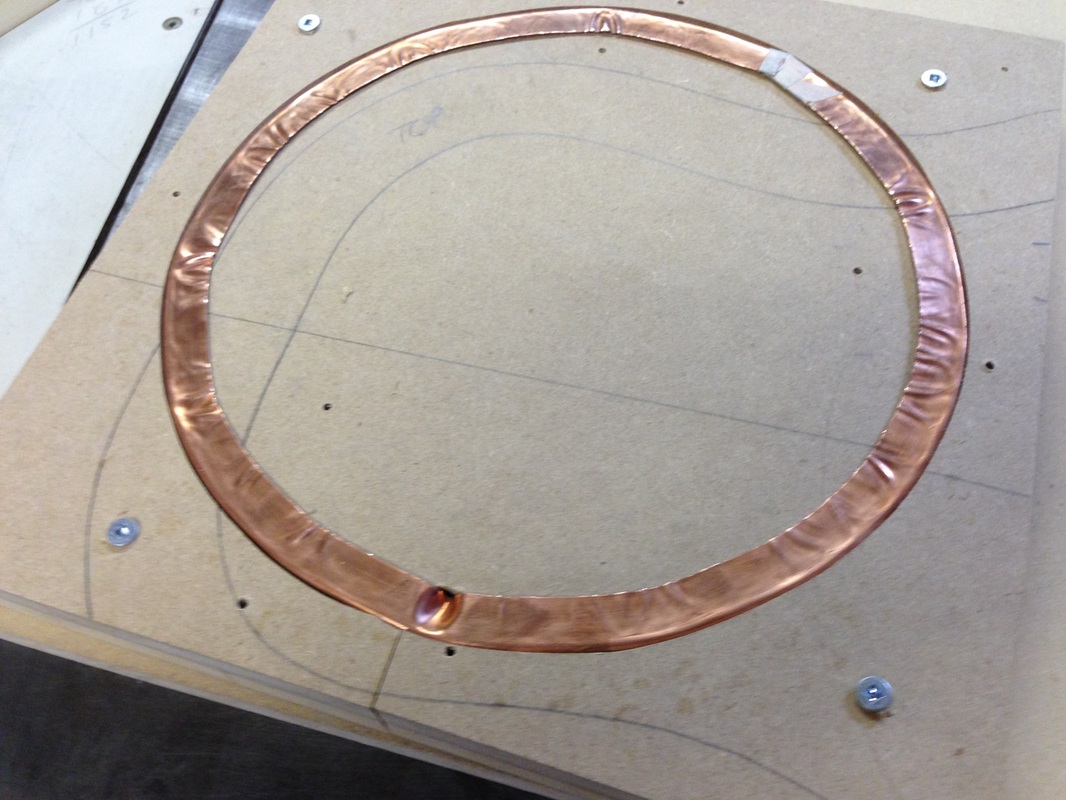
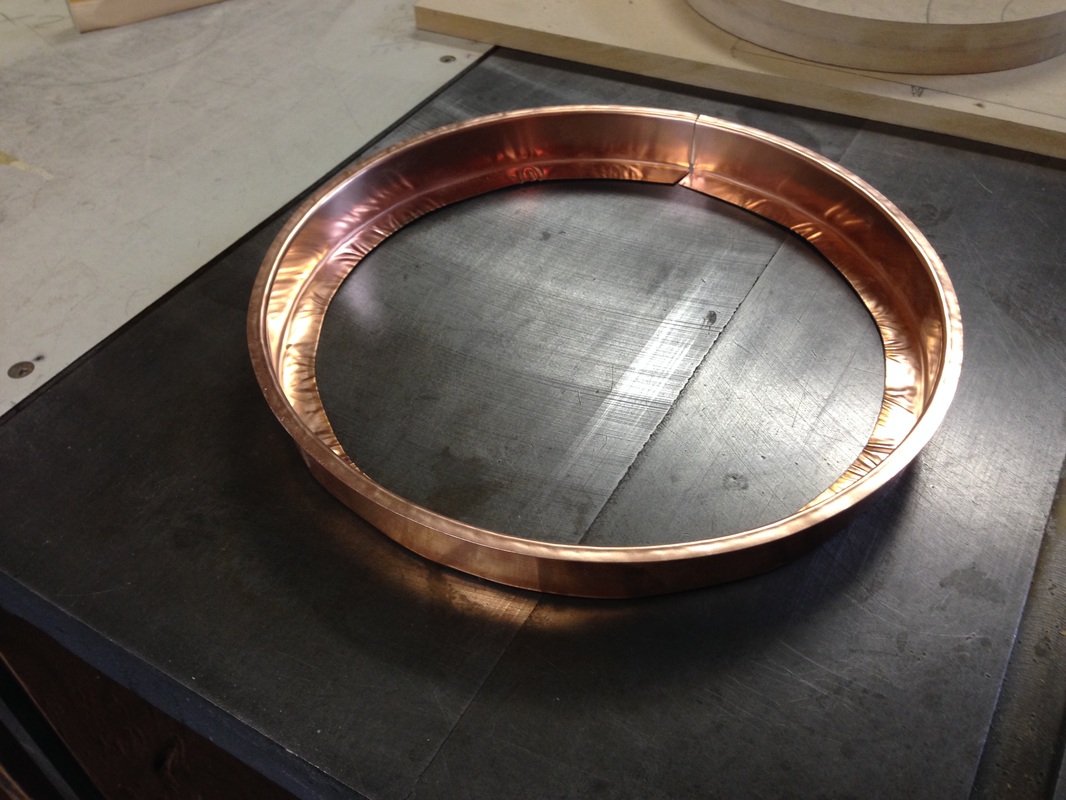
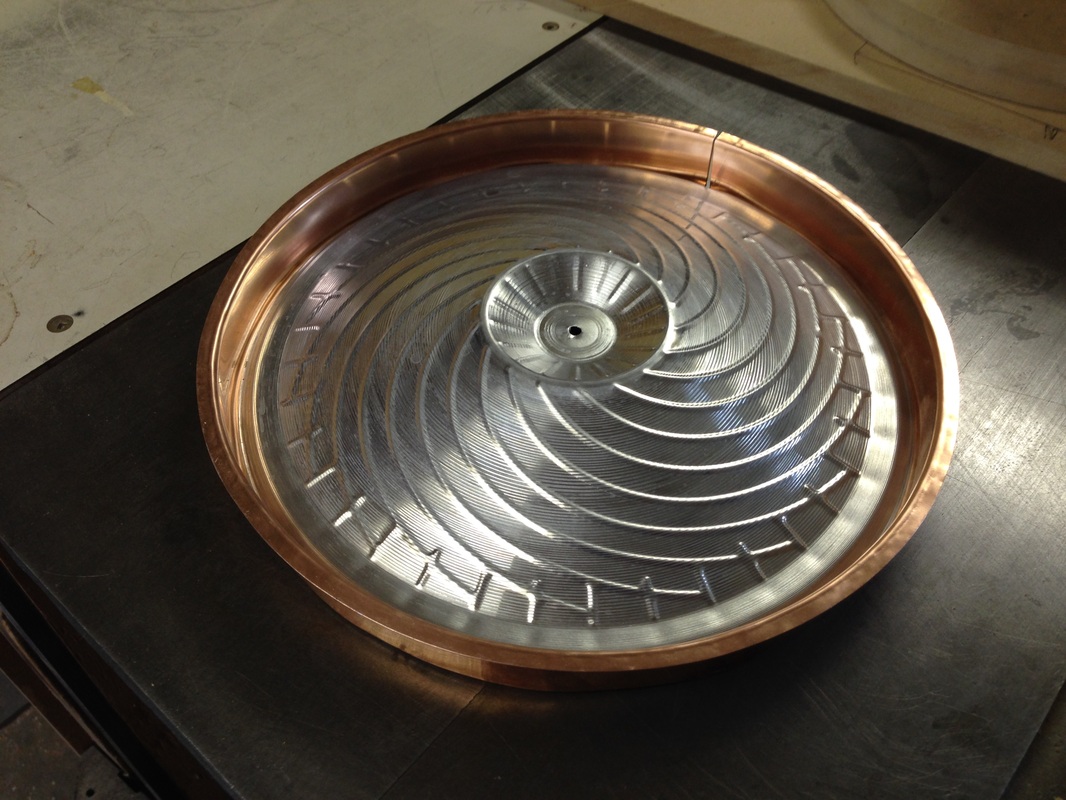
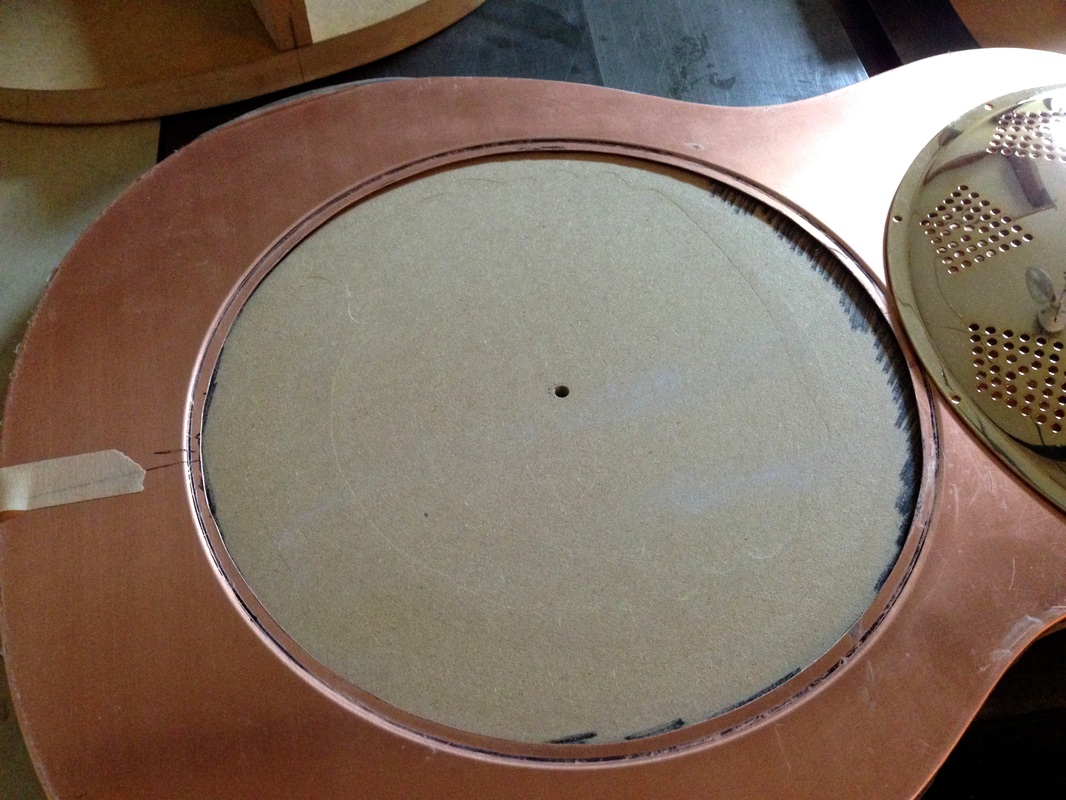
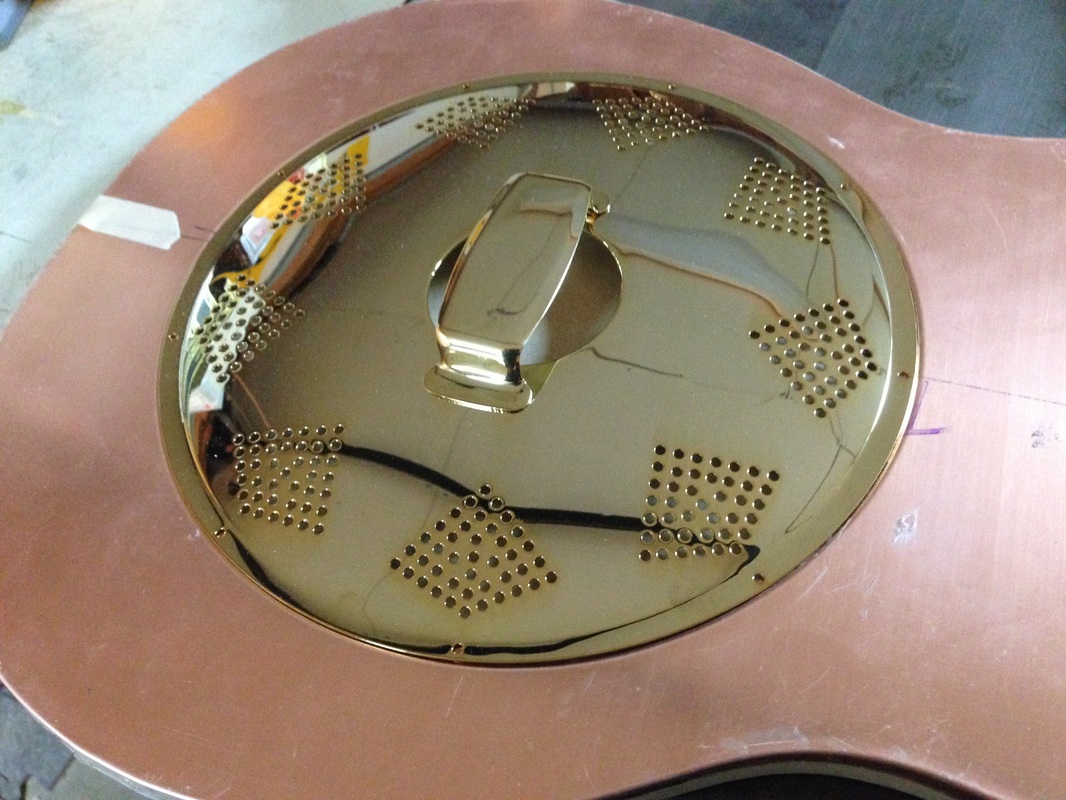
I'm an aircraft metal worker by trade, and thought that making a metal resonator guitar would be fun.  Instead of the usual steel or brass, I decided to make it out of copper, which supposedly will give it a deeper tone (and besides, I had lots of copper kicking around).
I will post pictures as the project progresses.  You can also follow it on the Winston and Fidel Facebook page.  While there, please feel free to comment on what you see.  I'm happy to answer any questions as well as listen to advice!  
For the photos below, just click on the text to see the picture and read the write-up. 


One of the skins all routed out and ready to have the edges dressed, so that they do not split or crack when I hammer them 90 degrees.
The edges are all dressed, and the skin is clamped into the forms so that I can hammer the soldering flanges over.
The bottom skin all flanged, did not spend too much time at this point getting them perfect, because they will deform a bit, when I press the centre to give it that nice "belly" on the back face.
The top skin cut out, dressed, and the sound-well cut out. This guy is ready to flange, just like the first one.
This is the back skin, with it's "belly",(I don't know if that is the proper term for it, but that's what it reminds me of) . It was pressed with a 3/4" piece of neoprene rubber. As predicted, the flanges spread a little bit, and now I will tune them up. The reason I waited for this, is because the more I hammer the metal, the more brittle it will become, possibly cracking.
Fine tuning the flanges on the face skin. They have to be very flat. If they are not, then the side skins will not mate properly, causing gaps along the soldered edges.
Here you see the copper sound-well ring, soldered, as well as the male and female forms.
The copper ring is dropped into the form with 1/4 inch sticking up over the edge. This will be stretched to form the upper flange.
The top flange is formed. The flange was stretched by hammering.
The form is flipped over, and one layer of MDF was removed to expose the bottom flange.
Using the hammer, I have to shrink the metal to form the lower flange. There will be excess metal, so I have to shrink the excess to get rid of the wrinkles. You do this by hammering in a special way which makes the copper slide over itself like a deck of cards. The metal will actually be thicker than when I started out.
Looks like a pie crust! A whole lot more shrinking has to be done.
Just about there. It needs more fine-tuning with the hammer.
The sound well is removed from the form.
The resonator cone is dropped in for a test fit. Perfect fit! I'm happy.
Here you can see the sound well hole cut into the upper skin. I have flanged around the hole to accept the sound well.
Checking the depression with the sound well cover plate. She fits good!
This is the sound well inserted into the flanged cutout on the upper skin of the guitar. Wowsers! It fit too! Sometimes I get lucky.
Maple for the neck, ready to be glued together.
Glue applied, and the maple all clamped up to set.
This will form the heel of the neck. More gluing.
Here is the neck, drawn out on the maple for cutting and shaping. This includes tying in the 'through board' that goes through the guitar body.
The slot for the truss rod has been routed into the neck. The slot continues into the guitar body 'through board'.
In this photo you can see how the neck and the 'through board' share the truss rod slot.
The truss rod in the slot, and all the parts that make up the neck.
Fitting them all together.
Using brass rods to tie them all together so that I can make the one half degree neck-to-body cut.
Gathering up the nerve to cut this thing. That's a lot of blade sticking out, set to one half degree angle.
Finished results: it worked great. I am very relieved.
The rough-cut neck, ready for the template. Next stop: the router.
The final trim is complete. It didn't go flying across the room, which is common when you use a router on end-grain maple. Shaping the tuner head gave me kittens. So far so good.
Proudly powered by Weebly